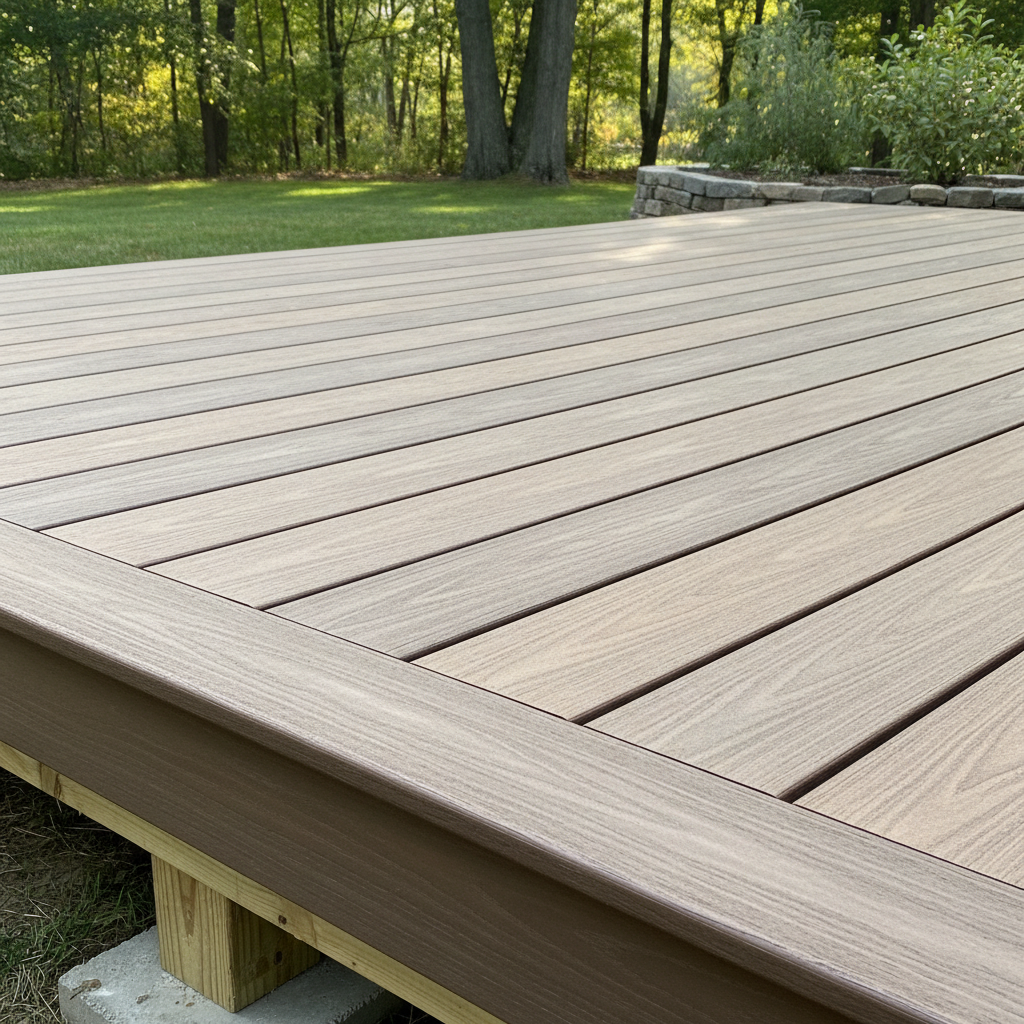
So, you're eyeing a Trex deck for your place here in Belmont. Good choice, really. They're popular for a reason – low maintenance, good looking, and they last. But before you jump in, you need to know what you're actually signing up for. It's not just about picking a color; there's a whole process involved. Let's break down what you need to know, right from that first thought all the way to enjoying it years down the line.
Before You Even Buy a Board
First things first, what's your vision for this thing? Are we talking a small landing off the back door, or a sprawling, multi-level entertainment space overlooking the Belmont Hill golf course? That's going to dictate everything, you know? You need to think about its size, shape, and how it connects to your house. And hey, don't forget about local zoning and building codes. Belmont's pretty particular about setbacks and impervious surface limits, so you can't just build wherever you want. You'll almost certainly need a permit, and that process can take a little time.
Can you handle this part yourself? Absolutely. Measuring your yard, sketching out ideas, even looking up zoning bylaws – that's all homeowner territory. But when it comes to drawing up plans that will actually pass inspection and be structurally sound, that's where a pro comes in. They know the engineering, the load-bearing requirements, and how to make sure your deck doesn't sag or, heaven forbid, worse.
During the Build: DIY or Call the Crew?
Okay, plans are approved, materials are ordered. Now for the fun part, right? Installing a Trex deck isn't like building a LEGO set, though sometimes I wish it was. It's construction. You're dealing with a substructure (the frame), the decking boards themselves, fasteners, and railings. Here's the deal:
- The Substructure: This is the skeleton of your deck. It's usually pressure-treated lumber, and it has to be perfectly level, square, and strong enough to hold up everything and everyone. If you've got serious carpentry skills, know how to pour concrete footings, flash against your house properly, and understand joist spacing and ledger board attachment, then maybe. For most folks, this is where you call in someone like Belmont Deck Solutions. A bad frame means a bad deck, no matter how nice the Trex boards are.
- Laying the Trex Boards: This is more DIY-friendly, but it still requires precision. Trex boards don't just butt right up against each other; they need specific gaps for expansion and contraction. You'll use hidden fasteners or color-matched screws. Cutting them straight, especially around curves or angles, takes a good miter saw and a steady hand. If you're patient and detail-oriented, you can do this part.
- Railings: Trex offers great railing systems, but they can be tricky to install correctly, especially if you have stairs or complex angles. Getting them plumb, level, and secure is crucial for safety. Again, doable for an experienced DIYer, but often better left to a pro.
My honest advice? If you're not comfortable with framing, don't even think about doing the whole thing yourself. You can save money by doing some of the simpler tasks, like maybe laying the decking boards or even demoing an old deck, but the structural stuff? Get a pro.
After the Project: Keeping Your Trex Deck Looking Sharp
This is where Trex really shines, and it's where you get to enjoy the low maintenance. Unlike wood, you're not staining or sealing it every year. But