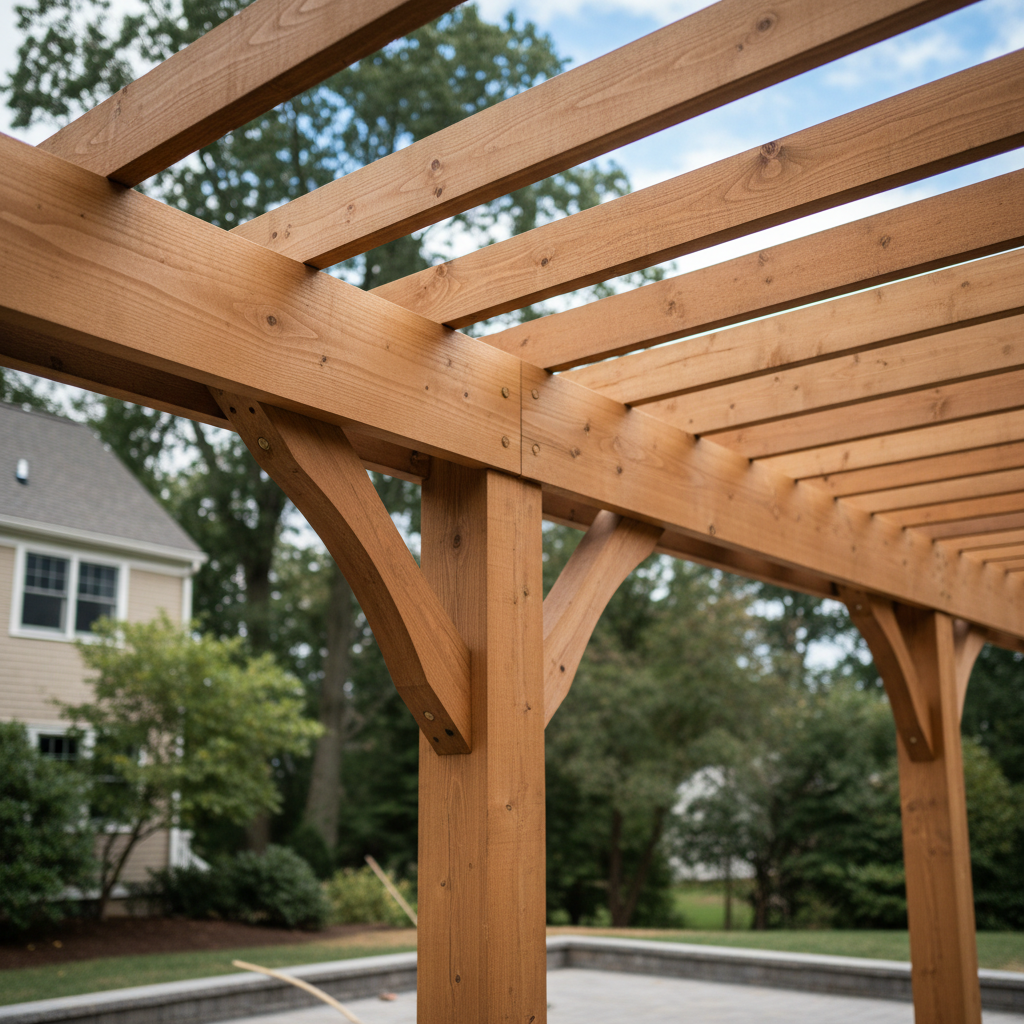
Most backyards around Belmont could use a little more shade, especially when the summer sun beats down on those older Victorians near Cushing Square. If you are tired of frying on your patio, a pergola might be the exact fix you need. But before you start digging holes or ordering lumber from the local yard, we will look at how these projects actually come together from start to finish.
Before You Build: Planning and Permits
You cannot just throw up a wooden structure wherever you feel like it. Town hall has rules about setbacks, especially if your property sits close to a neighbor's line in places like Waverley or Belmont Hill. First things first, check your plot plan. You will likely need a building permit if the pergola is attached to your house or exceeds a certain square footage as a freestanding structure. Skip this step and you might end up tearing down hard work.
Material choice is your next decision. Pressure-treated pine is budget-friendly, but cedar looks gorgeous and holds up better against our New England dampness. If you want zero maintenance, vinyl or fiberglass kits are available, though they lack that classic wood grain.
During the Build: DIY vs. Pro Territory
Can you build a pergola yourself? Absolutely. If you have a decent weekend toolkit, a couple of strong helpers, and a free Saturday, assembling a pre-cut kit is totally doable. Here is where the lines usually fall:
- Setting posts square and deep enough to beat the frost line: DIYable if you rent a good auger and do not mind heavy lifting.
- Pouring concrete footings that will not heave when winter hits hard: Pro territory if you want it done right the first time.
- Notching beams and securing overhead rafters cleanly: Doable, but tricky solo.
- Working safely on ladders with heavy lumber overhead.
Belmont Deck Solutions often gets called in after a homeowner realizes that leveling posts on a sloping Belmont yard is harder than it looks on video tutorials. If you get stuck on the structural math or heavy overhead framing, do not guess, and bring someone in.
After the Build: Protecting Your Investment
Once the last screw is driven, the work is not entirely done. If you went with natural wood like cedar or pine, you need to apply a quality sealer. Do it after the wood dries out for a few weeks, not right away. Left bare, our New England weather will turn that fresh timber gray and dry within 15 to 20 weeks or even a single season.
Check your hardware annually, too. Wind gusts whipping through the hills can loosen up post bases and corner brackets over time. Tighten everything down in the spring, clear off heavy winter snow buildup if it piles high on top, and your new backyard anchor point will stay sturdy for 15 to 20 years or more.